— Creative Fun With Foraged Leaves
 Today we follow up last month’s leaves scavenger hunt and explore some wonderful creative activities that children can undertake using leaves they have foraged. It’s great timing too, with Autumn having arrived during September. While last month’s article focused on scavenging and learning to recognise different leaves, today’s activity highlights how children can use some of those leaves to get creative and use their imaginations. Such activities combine aspects of Forest School with art, design, and mark-making, so they will be fun, educational, and help children develop various skills. This is also a great way to bring the results of an outdoor, nature-based activity indoors. And, with featured activities including leaf pressing, leaf rubbing, collage, painting, and more, what’s not to love!
Let’s get creative with leaves in the first of our suggested activities for children: leaf printing.
Printing With Leaves
| What’s needed: children will need some leaves with attractive shapes and well-defined structures (e.g. sycamore, oak, maple/acer, beech), some paper, a medium-sized paintbrush, and coloured poster paints. A little hand roller will also help, if available. |
 What to do: Printing with leaves is simple, quick, fun, and effective. All children need to do is paint the most textured side of each leaf and then, while the paint is still wet, turn the leaf over, lay it carefully on a paper sheet, and press all areas of it against the paper. That’s where the little hand roller may be useful, if available, otherwise it can be achieved by hand or by dabbing a wad of tissues or fabric against the back of the leaf. Then, carefully peel off the leaf to reveal an intricate leaf print. It’s almost like magic, and the results are often fabulous! Children can experiment with multiple leaf prints, different colours, various leaf shapes and sizes, and generate different designs. Encourage them to experiment to get their creative juices flowing.
Leaf Pressing
| What’s needed: To press leaves, children will need a selection of attractive leaves and something to press the leaves between, e.g. sheets of paper, newsprint, or indeed the pages or a large notepad or book. One or two books will also be useful as weights, although any other reasonably weighty object that has a flat underside will do. |
 What to do: Place each leaf, or indeed small flowers, individually between the sheets of paper. Loose newsprint or paper sheets can work, but perhaps the easiest way is to use a large notepad or book; these lend themselves to multiple leaves being pressed at the same time via the double-page spreads within. Lay the closed book (or pile of sheets) on a table and place a flat weighted object on top (an adult may need to supervise young children for this part). Such an object can be anything that’s reasonably weighty and has a flat underside — books are a natural contender for such a purpose. After a few days or a week, your child can check to see if the leaves have dried and flattened. If not, they should check again a few days later. Once flat and dry, your child’s leaves are ready! They are now in a long-lasting state, so make wonderful mementos like bookmarks, and indeed can be used as the key elements for our next activity suggestion below.
Make a Collage with Leaves
| What’s needed: Your child will need some sheets of paper, some child-safe glue, and some leaves. The leaves can be freshly-foraged, although dried and pressed ones are also an excellent choice and may glue more efficiently. |
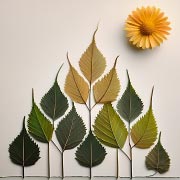 What to do: The challenge with this activity is for the child to make a nice design on the paper using leaves. So, they could be arranged in an attractive pattern, or as a picture to depict a scene or object. Each leaf simply needs to be glued carefully in place. Designs can also be augmented with extra details using things like twigs, flowers (dried or pressed ones will last longer), leaf stalks, or even extras like lichen or moss. The only limits are the child’s creativity and imagination. Check out some of the examples on this page for inspiration — and get started.
Painted Leaves
| What’s needed: Children will need some reasonably flat leaves, some coloured poster paints, and some paper. |
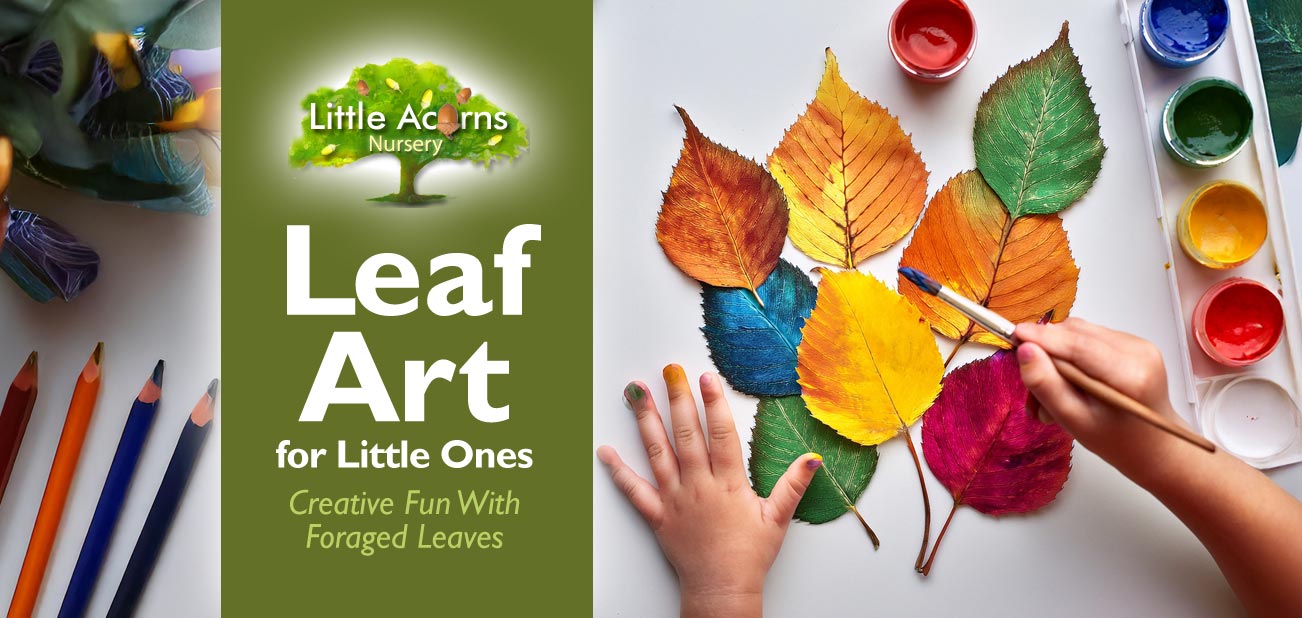
 What to do: This is an easy but effective activity where children simply paint one side of each leaf with coloured paint. Once painted, they look very attractive as art objects but can also be used, once the paint is dry, as part of a picture, display, or collage. This activity is a great opportunity for children to experiment with mixing colours, making new ones, and learning how to choose colours that either contrast or complement one another. Children will soon discover that whichever colour palette is chosen can give the final result a specific mood and feel, whether happy and sunny or muted and cool, for example, depending on the colour combinations.
The Magic of Leaf Rubbings
| What’s needed: This activity requires one or more leaves that have a well-defined structure, ideally with raised ‘veins’ and well-defined surface textures. Children will also need some sheets of thin paper plus either soft pencils, wax crayons, charcoal sticks, or oil pastels. |
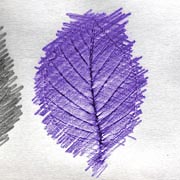 What to do: Working on a flat surface like a table or desk, children should lay a leaf, with its most textured side uppermost, under a sheet of the thin paper. Then, bearing in mind the location of the leaf under the sheet, the child should shade from side to side repeatedly over the top to reveal the texture and structure of the underlying leaf. A soft pencil will give better results than a hard one, and using the side of the drawing tip rather than the point will also be easier. Even better is using the side of a stick of charcoal, wax crayon, or oil pastel, as more area can be covered in each single stroke. A variety of colours will help enrich the results, but black and white results are also highly effective. Children can experiment with different media in this way, try using different pressures, different colours, and differently shaped leaves. This task is a particularly good way for children to hone mark-making and fine motor skills.
Draw (or Paint) a Leaf
| What’s needed: Children will need one or more leaves as visual reference (the more attractive the better), and some paints or coloured pencils. |
 What to do: The idea of this activity is simply for children to try to draw or paint their own representation of one or more leaves. They can position the leaves somewhere close, like on their desk or table, and see if they can draw them accurately on a sheet of cartridge or sketch paper. It’s a great way for children to practise their powers of observation and hand-eye coordination. How accurately can they accomplish their picture? Alternatively, how well can they achieve different styles of art in their representations? Perhaps showing them some examples of art styles from the Internet or from an art book may inspire them.
Endless Creative Opportunities Using Leaves
 The possibilities are endless when it comes to creating art and design inspired by leaves. As well as making attractive designs with leaves, it’s also possible to take things a few steps further. For example, can your child find a leaf shaped like a heart and use it as the key element in a Valentine’s Day card? Can they make an attractive birthday card using leaves arranged to look like a big flower?
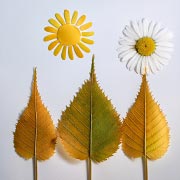
 Can they incorporate leaves into a collage depicting a scene in a park, with leaves upturned as trees, moss as grass, a flower as the sun, and little twigs or pencil lines added to represent stick people? Can children use pressed flowers to make a lovely bookmark or keepsake for a friend or relative? The list of possibilities is immense! It’s also all great fun and highly creative, while helping children master new skills, use their imaginations, and support multiple areas of the EYFS. And, as we said in last month’s post, it’s something different for children to do indoors, yet still involving nature and elements of Forest School.
Nursery Places for Under-5s in Clayton-le-Woods
High-Quality Weekday Childcare Near Chorley

 Little Acorns is a fabulous childcare nursery in Clayton-le-Woods, near Chorley, Lancashire. We cater for children from 3 months to primary school age, and give babies, toddlers, and pre-schoolers a wonderful start in life. Attending this high-quality childcare setting ensures that children are as school-ready as possible by the time they leave us — ready for success!
Little Acorns Nursery has a ‘Good’ Ofsted rating and supports funded childcare hours for eligible children as young as just 9 months. Forest School sessions are popular at Little Acorns Nursery, as are our comprehensive facilities that include a brand new Sensory Room. The nursery opens early, at 7:30 a.m., and stays open until 6:00 p.m. — very convenient for working families.
Register for a nursery place today, or simply get in touch with any queries or to arrange a guided visit with your child:
Little Acorns is a childcare nursery in Clayton-le-Woods, near Chorley, representing a convenient choice for anyone living nearby in towns and villages that include Clayton Brook, Clayton Green, Penwortham, Farington, Bamber Bridge, Whittle-le-Woods, Lostock Hall, Leyland, Pippin Street, Buckshaw Village, Thorpe Green and Euxton.
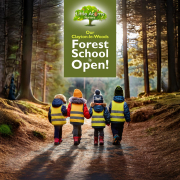
 We’re delighted to share some very exciting news:
  Our nursery is surrounded by
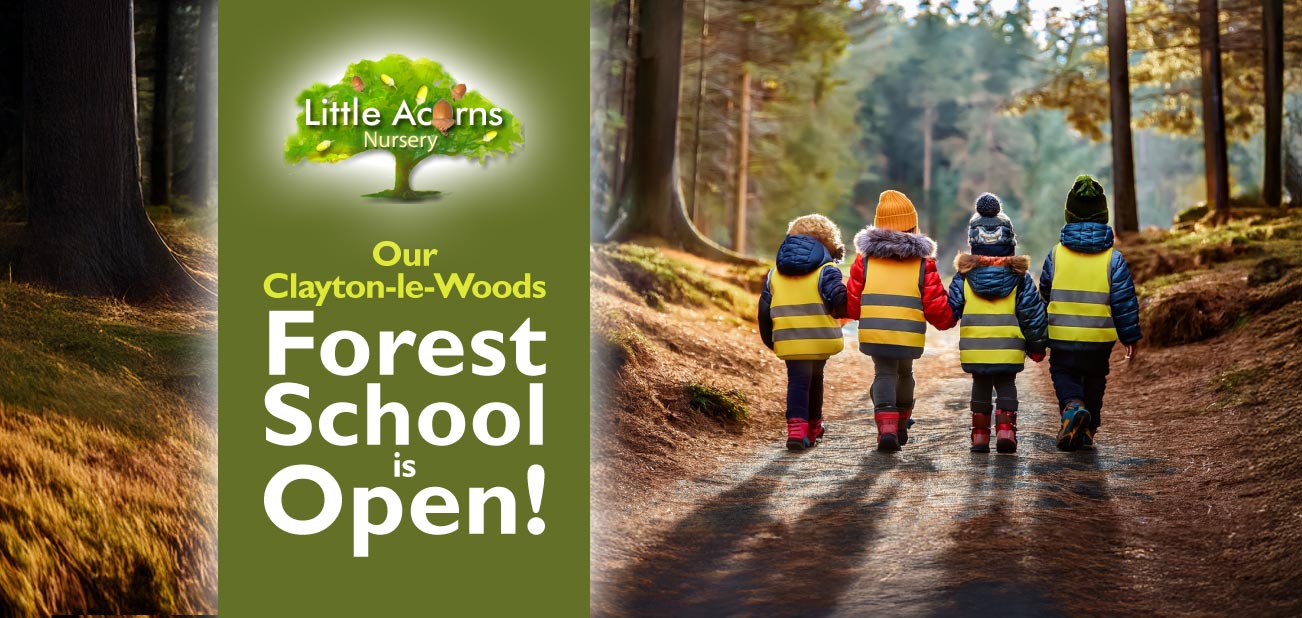
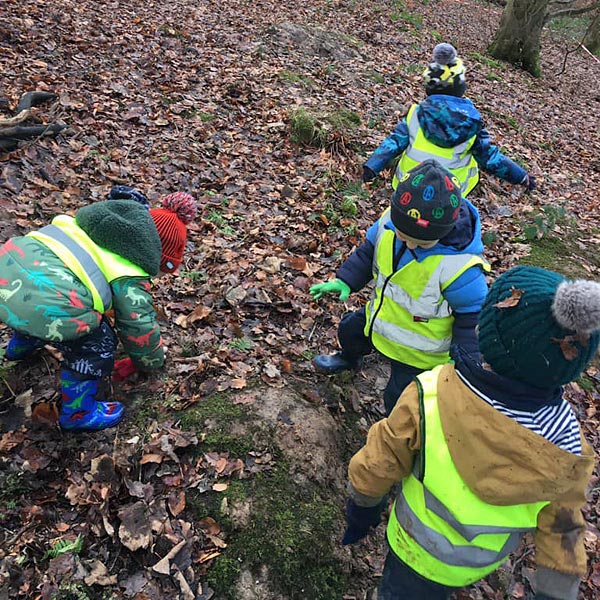
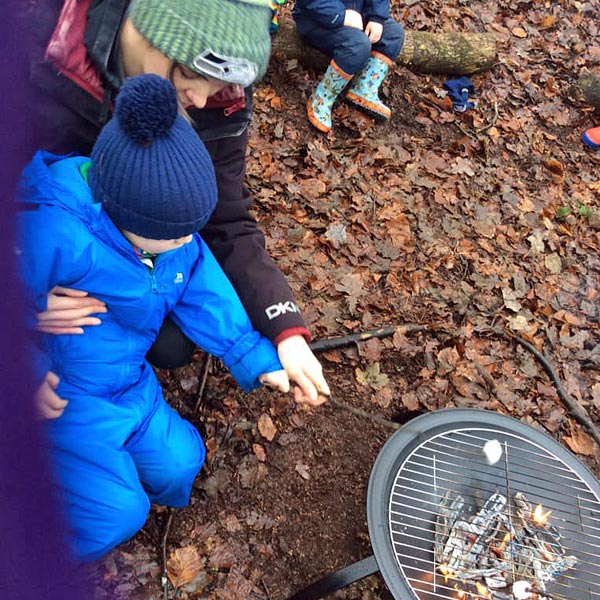
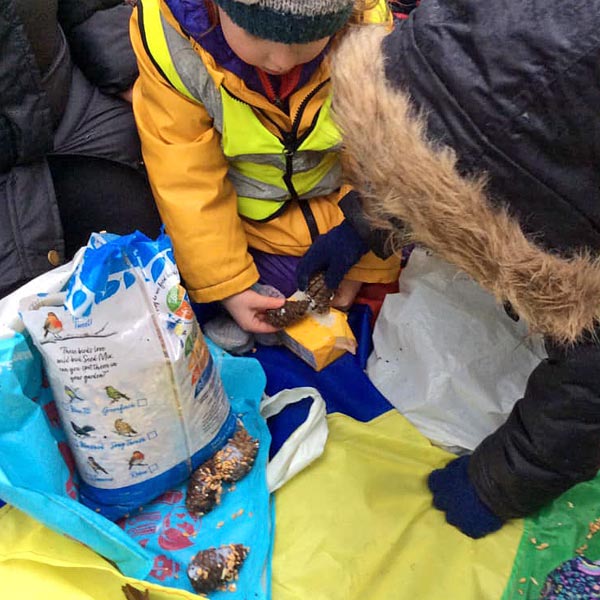
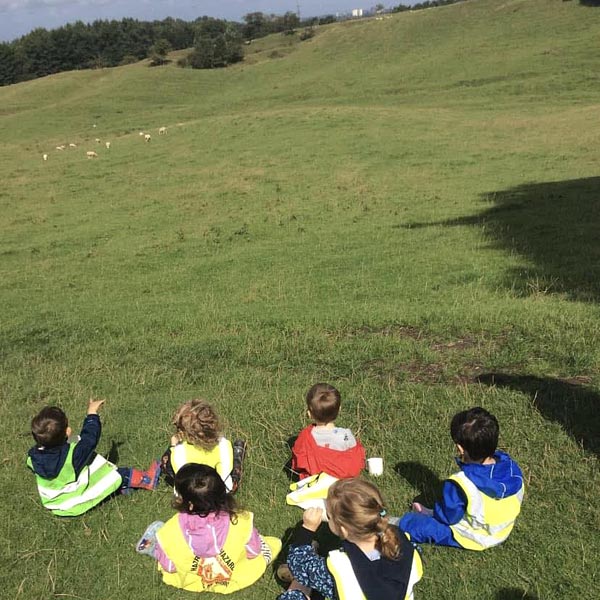
  Forest School is a child-centred approach to learning that takes place outdoors and encourages children to explore, investigate, and learn about the natural world through hands-on experiences. Sessions are led by trained practitioners and are carefully planned to be age-appropriate for under-fives. They allow children to learn about nature, build new skills, learn to assess risks, and grow in confidence and independence.
 Forest School offers rich opportunities for learning across all areas of the Early Years Foundation Stage. As children climb, balance, build, dig, collect and create, they naturally develop physical strength, coordination and problem-solving skills. They learn to communicate with one another, take turns, share ideas and work together, supporting social and emotional development in a meaningful context.
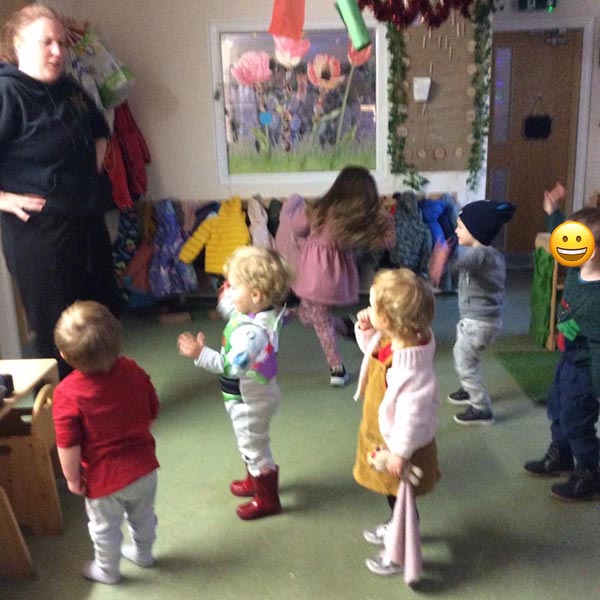
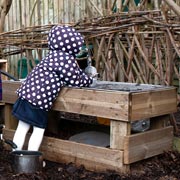 Forest School is not limited to time spent outdoors for children at Little Acorns Nursery. The Forest School approach is also reflected throughout our nursery environment, both indoors and in our garden and grounds. Natural materials, open-ended resources and opportunities for exploration are woven into everyday play, allowing children to continue their connection with nature — whether indoors or outside.
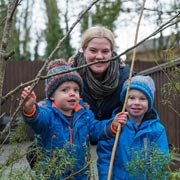 For families already with us, Forest School adds another enriching layer to the care and education your child receives. For those considering joining our nursery, it’s one of the many reasons we believe our setting offers something truly special. Being able to offer Forest School — especially as a nursery that pioneered it locally — reflects our commitment to high-quality, thoughtful early years practice.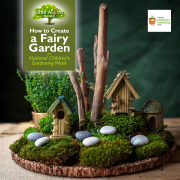
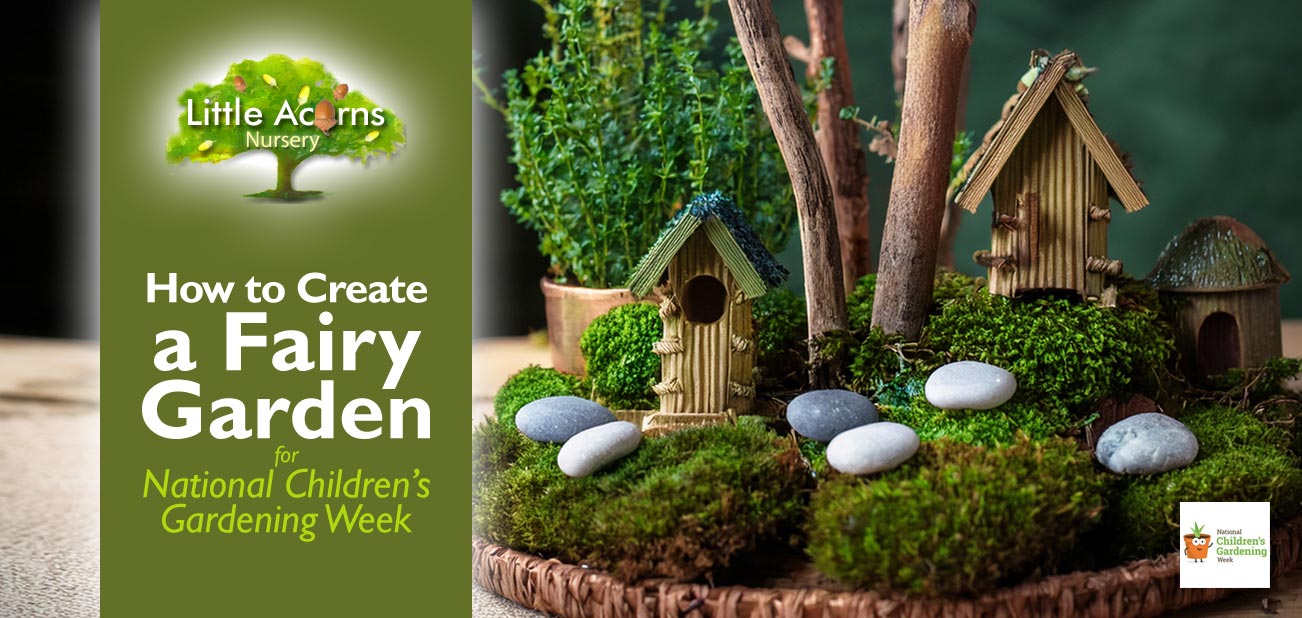
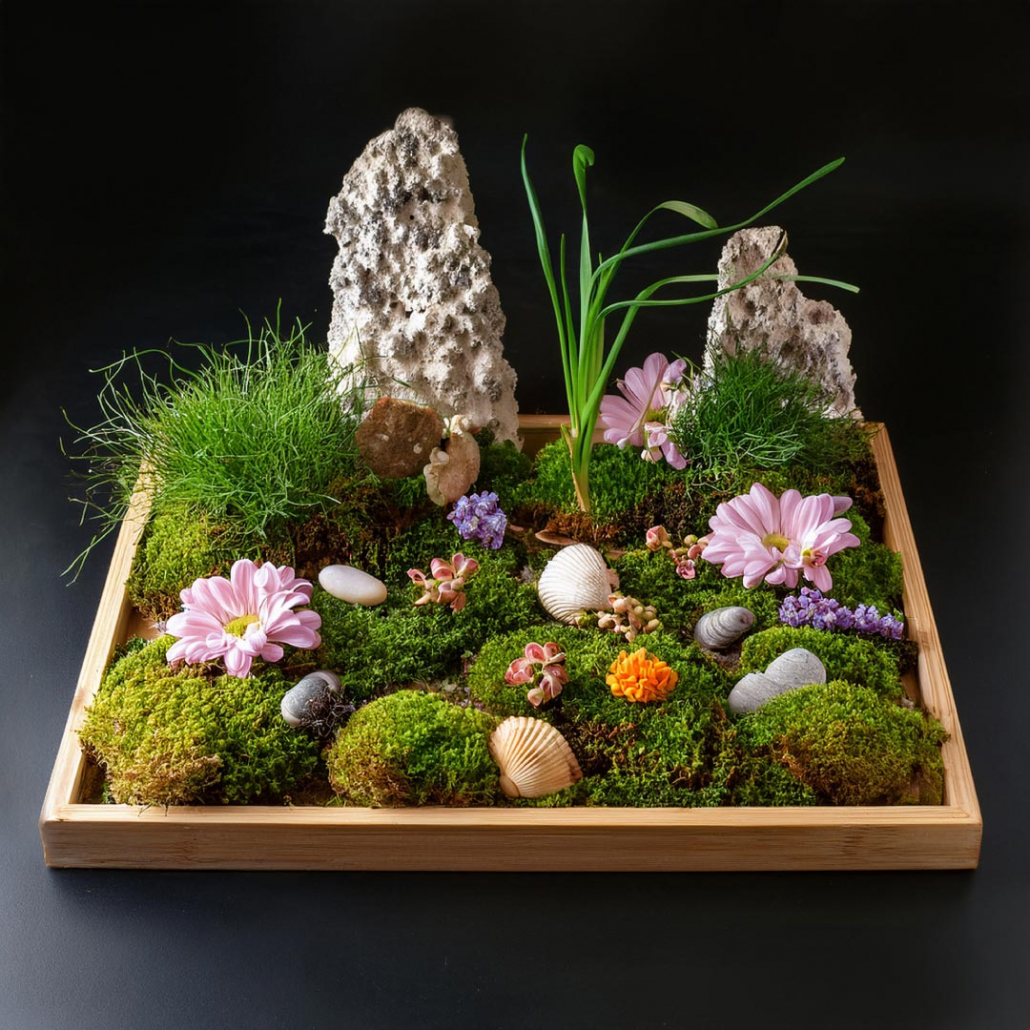
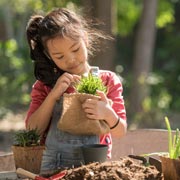 National Children’s Gardening Week arrives in late May and is the perfect time for young children to get involved in gardening activities. In celebration of the event, we describe a wonderful gardening-related activity that’s small-scale, easy, fun, and educational — perfect for little ones! The finished result is also rather magical and, once complete, lends itself to imaginative play. Today, we outline how children can make their own miniature fairy gardens. These are a great way to introduce little ones to creative gardening at a child-friendly scale. Under parent supervision* and largely using scavenged materials from outdoors, under-fives can let their imaginations run free and get creative! What’s more, the results are simply enchanting and will bring magic and a whole lot of delight to young children!
 National Children’s Gardening Week begins on the 23rd of May for 2026 and runs until the 31st. The timing is no coincidence as it’s generally a warm week and therefore perfect for gardening and growing plants and flowers. What’s more, it also spans the half-term school holiday that most schools recognise in the last week of May.




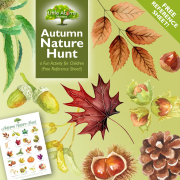
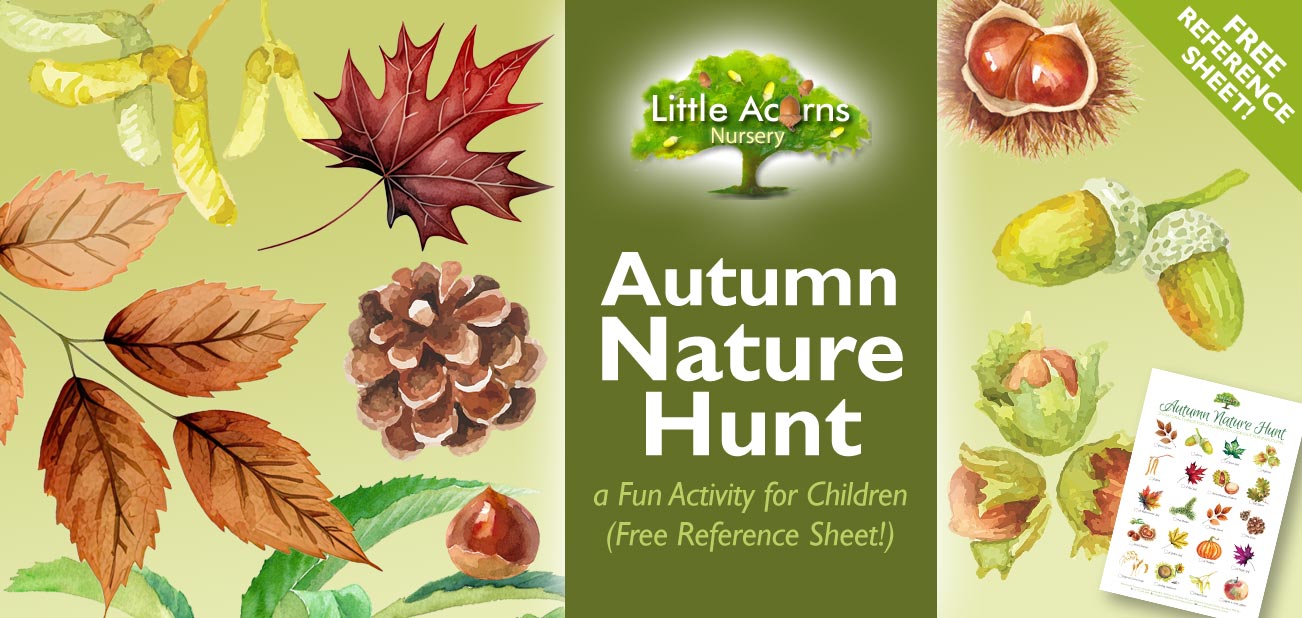
 By mid-November, autumn is in full swing and leaves are turning a myriad of different colours. Scenes of green, yellow, red and golden trees can be breathtakingly beautiful and the air is often crystal clear at this time of year — that’s great for photos! The autumn season also brings with it a treasure trove of fascinating natural things that children can discover if they take the time to look. Indeed, an autumn nature hunt is the perfect excuse for little ones to spend some time outdoors, where they will also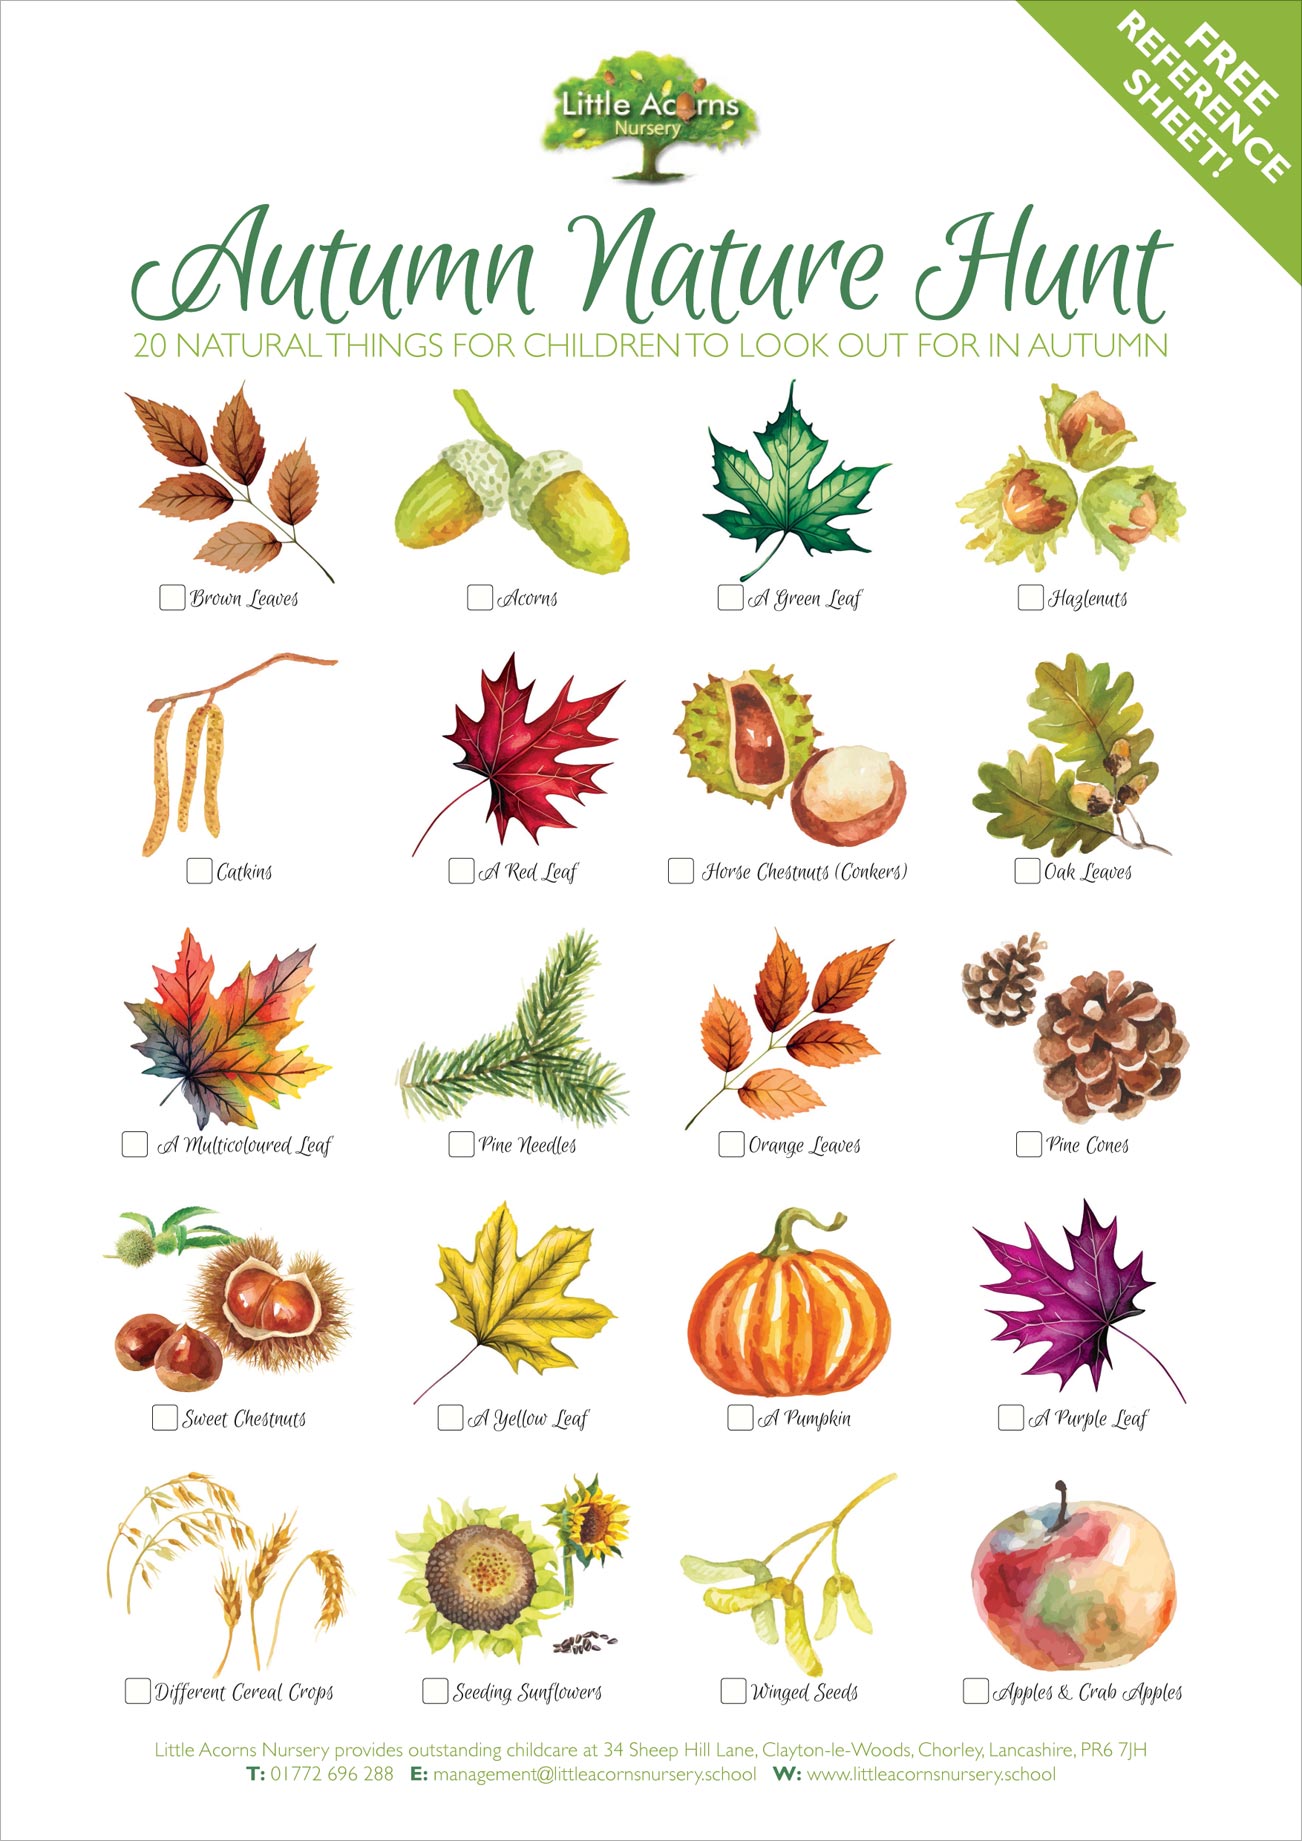
 Ensure children, particularly the very young, receive appropriate adult supervision at all times. Although fascinating and fun, the outdoors holds many hazards for the unwary. Therefore, children will need to be closely monitored by a responsible adult in order to safeguard their well-being.

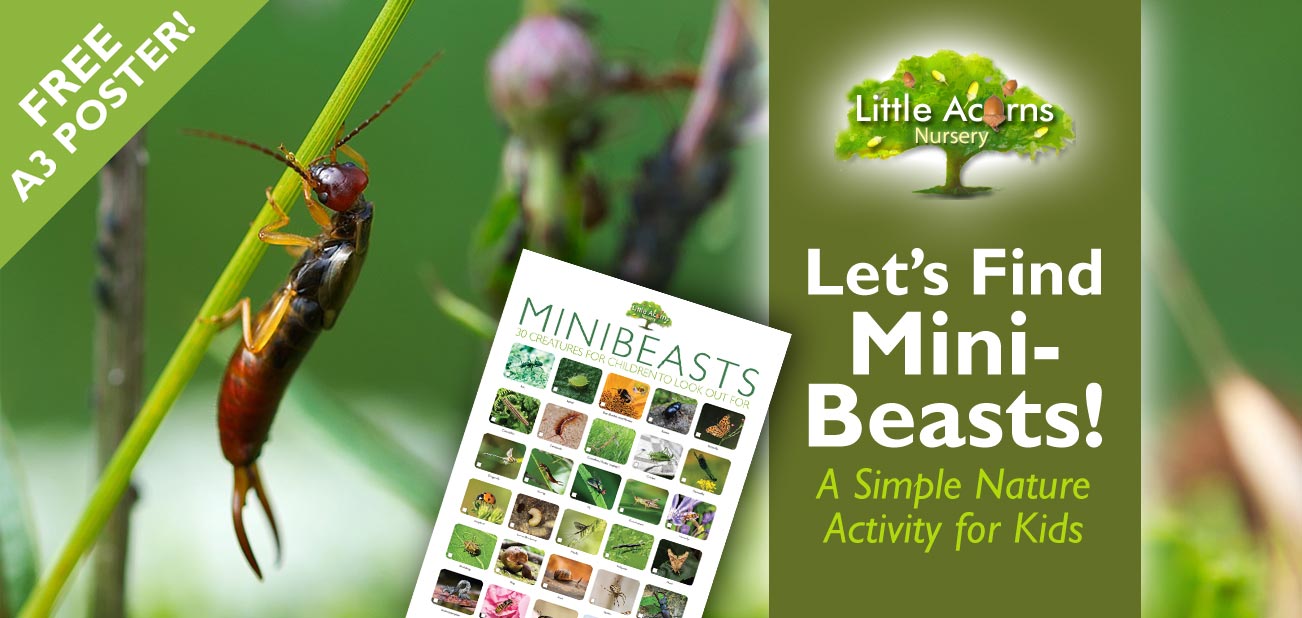
 Children and parents, let’s go minibeast spotting! Whether you have a garden, neighbourhood park, or just a few potted plants, there are bound to be minibeasts visiting or living there. What’s more, summer is the perfect time to spot them. Spending time in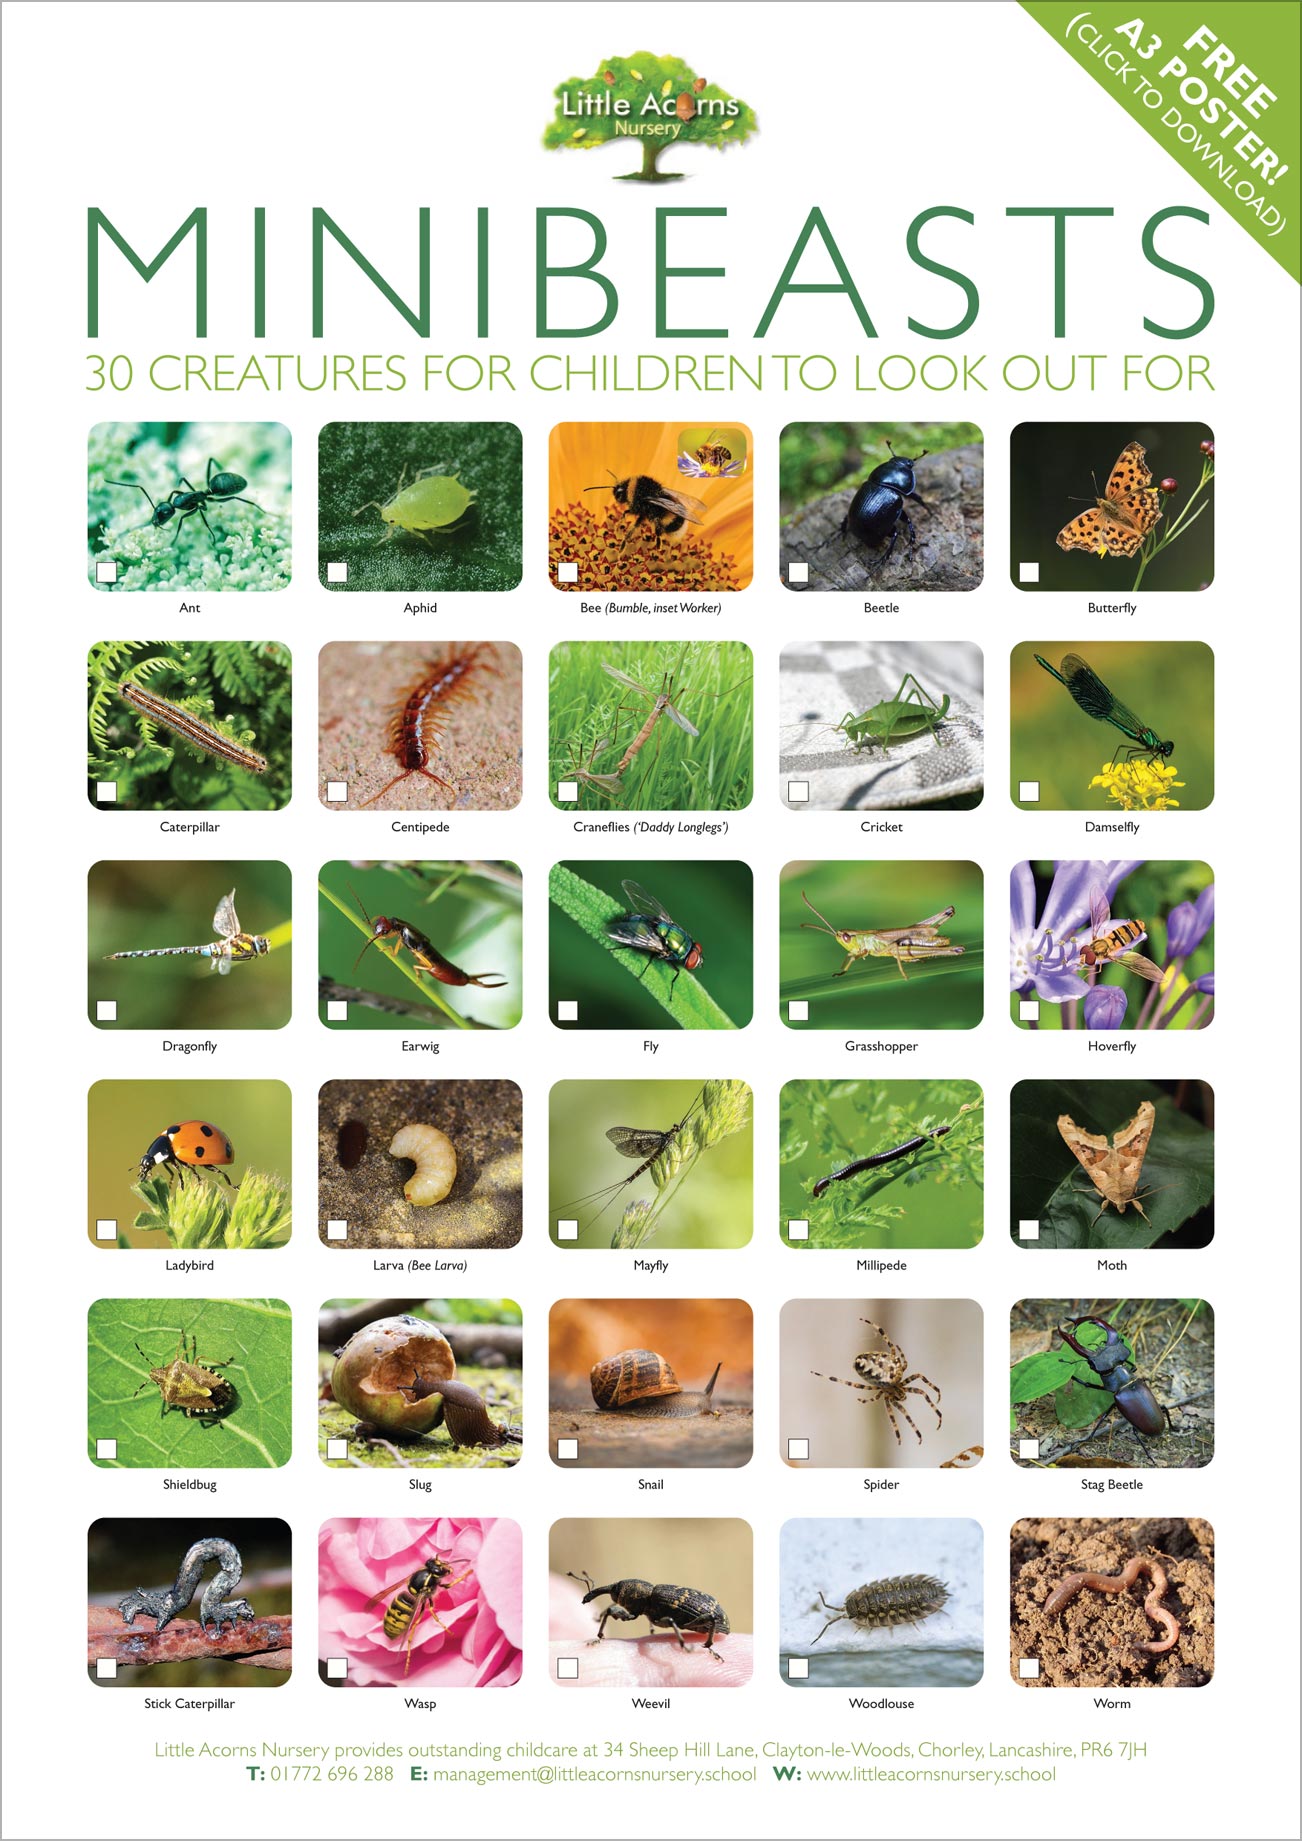
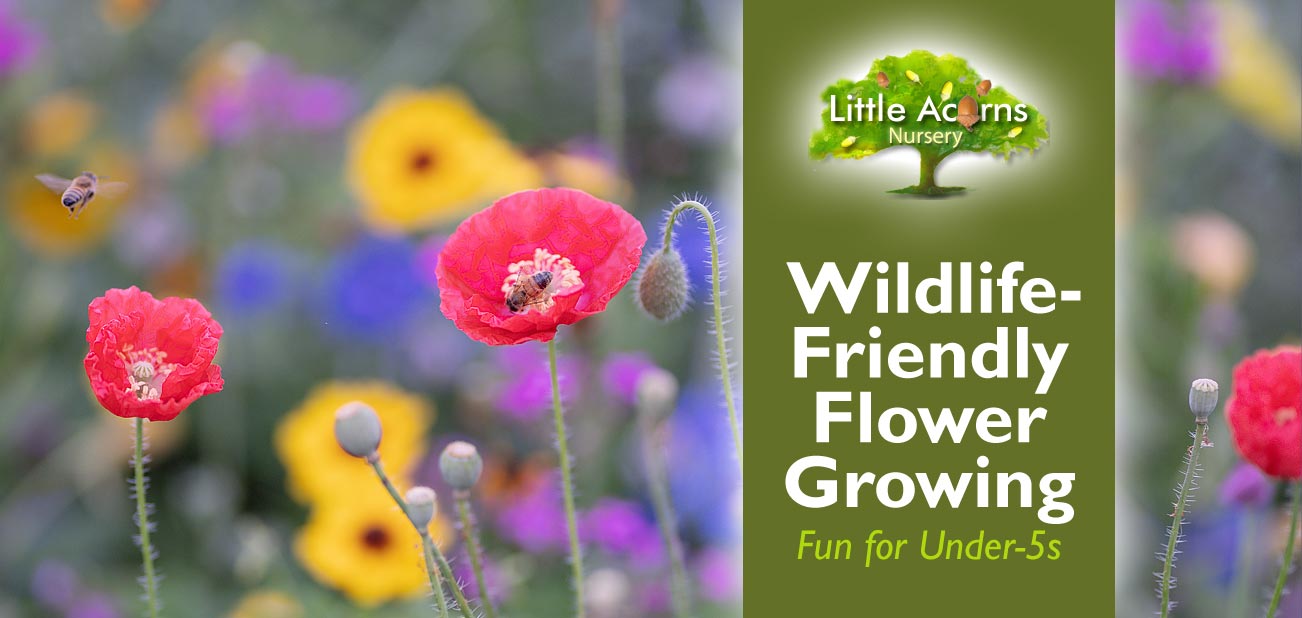
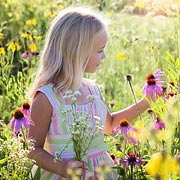 Today’s flower-growing children’s activity follows on nicely from last month’s
 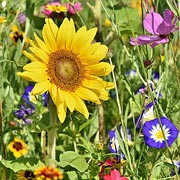 It’s possible to sow wildflower seeds from March right through to mid-October or, at a push, early November so long as snow or frost is not forecast. Those sown closer to March and April will generally flower in late spring/early summer. Those sown very late in the year will flower the following year, from spring onwards. Any sown up to and including the middle period, for example during July, should still flower in the same year — wildflowers usually bloom some 60 to 80 or so days later if they’re timed to grow in the same year as they’re sown.
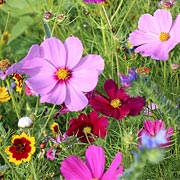 There are several ways for children and families to source wildflower seeds. The most obvious way is to buy them commercially, in seed packets. These are available from any number of different outlets including nurseries, supermarkets,
 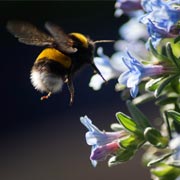 If you buy your child commercially-available wildflower seeds, the information on the packet will often say if the resulting flowers are bee-friendly, butterfly-friendly, good for pollinators, and so on. So, if you’re sourcing seeds that way, much of the decision-making criteria around which actual flowers to grow is made clear and therefore the choice is easy.
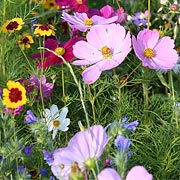 By their very nature, wildflowers are generally not very picky in regard to the type of soil they are happy to grow in. Therefore you/your child will have a greater choice of where to sow the wildflower seeds. A fairly clear sunny area is good, whether that’s garden beds, flower pots, window boxes, grow bags on a balcony, or even the lawn itself if you want a wild ‘meadow’ type lawn. Whatever the choice, it’s best if it’s somewhere that won’t be disturbed by you/the family though, as you wouldn’t want the wildflowers trampled once they do arrive.
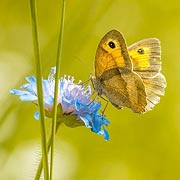 With regard to sowing the seeds, follow any seed-specific instructions on packets in relation to timing and spacing. If you’re using self-harvested seeds or there are no instructions, simply sprinkle the seeds so they’re spaced, fairly evenly, i.e. not too densely sown. This will avoid the wildflower plants having to compete with one another once they start growing. A tip is to sprinkle from a height as this will naturally scatter them more widely. Once scattered, your child can help* to pat the soil surface down, either by hand or using the back of a tool like a spade or a trowel, so that the seeds are secured in the soil. Children can even ‘walk’ them in if they prefer. Once complete, ensure that you/your child keep the soil damp over the coming weeks. The preparation stage really is as simple as that!
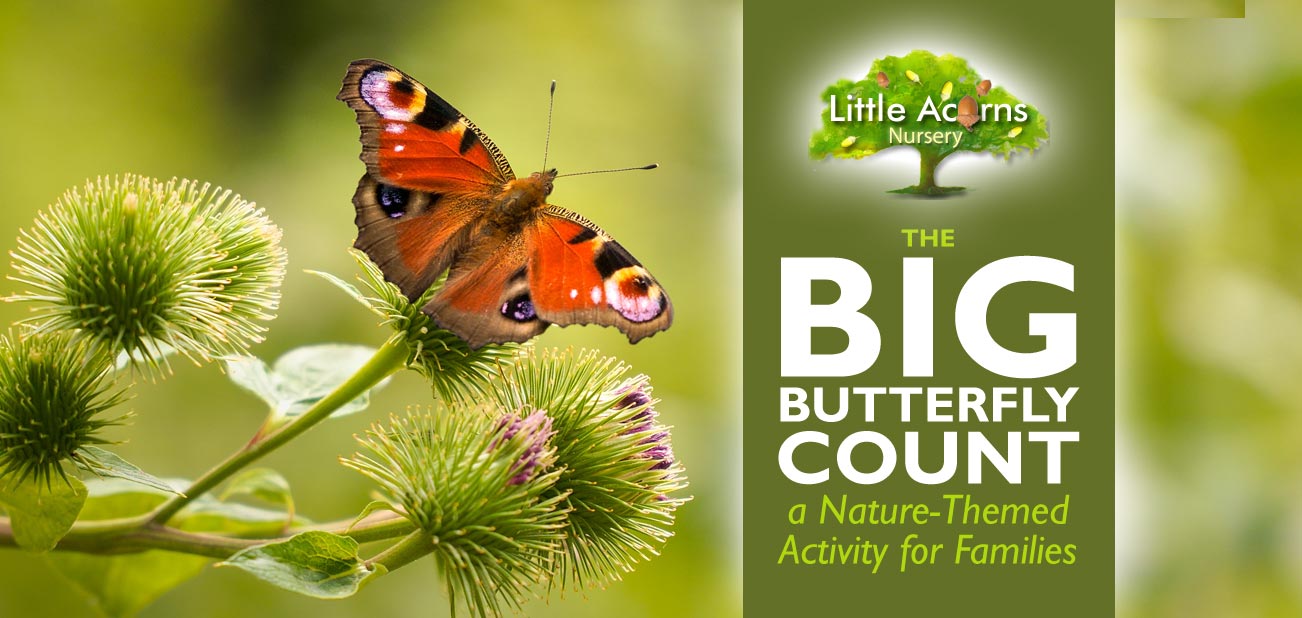
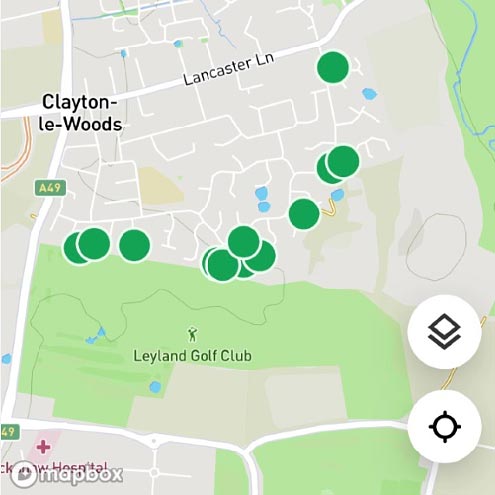
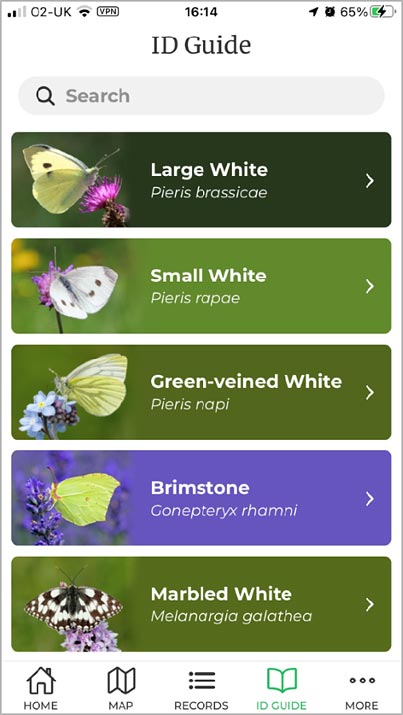
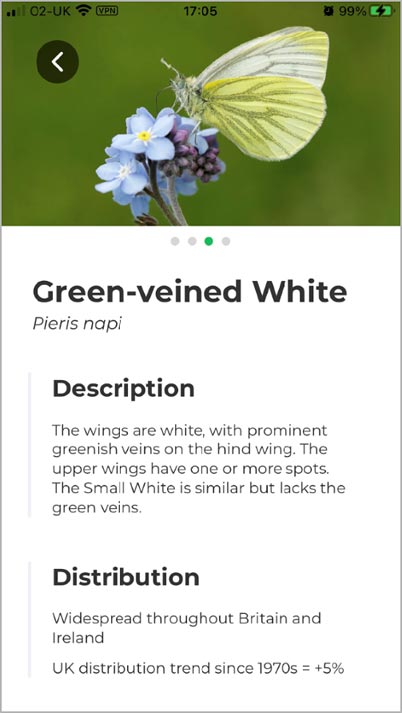
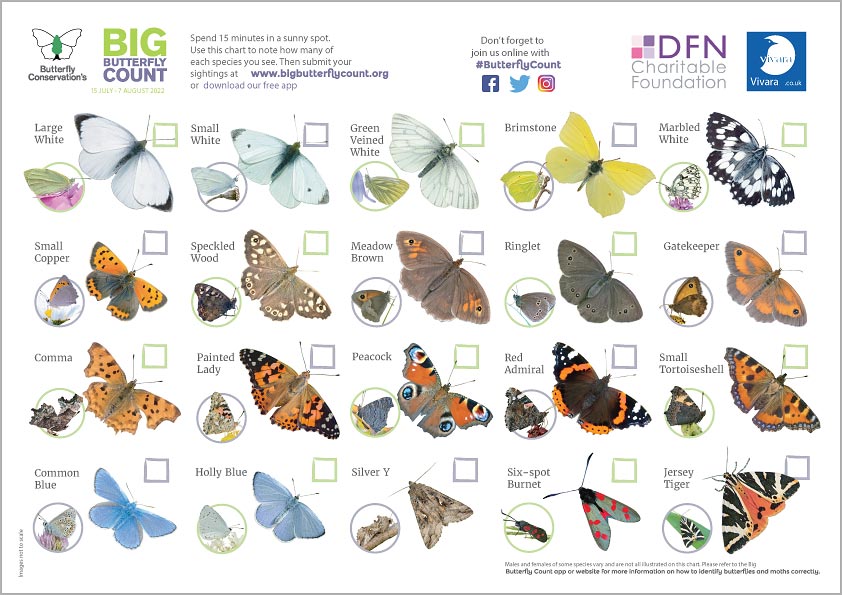
 Many will have heard of the Big Garden Birdwatch that takes place every year in January. However, fewer are aware of a similar activity called The Big Butterfly Count that takes place in July and early August. As well as being extremely worthwhile, it’s a wonderful activity for both children and adults to get involved in as citizen scientists. The activity helps with butterfly conservation, is educational for those taking part, and encourages families to get outdoors, closer to nature. And, as we know,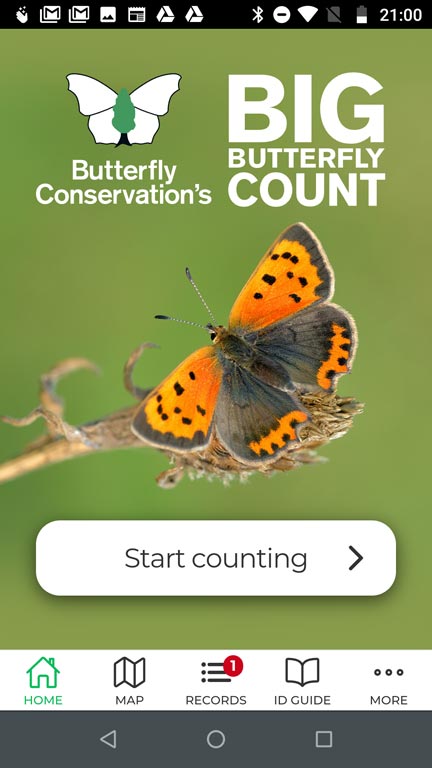


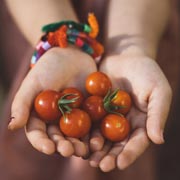 and that’s just one of many reasons why little ones should be encouraged to learn about sowing seeds and growing their own plants. Today, we’re taking that a step further by explaining how children can grow plants that will give them real, edible food! With a little planning, care and effort, children can grow herbs, vegetables and even fruit if they put their minds to it. What’s more, it’s possible without a garden and needn’t cost a penny!
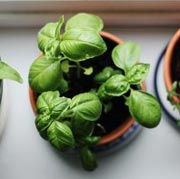 That will never be more evident than when a seed has grown into a plant that bears fruit, which contains more seeds, through which the whole process can start again.
 Seeds for herbs, vegetables and microgreens are all widely retailed in places like garden centres and even some supermarkets. Each seed packet will usually explain when and how seeds can be planted. This is perhaps the most obvious way for children to grow plants that, if all goes well, result in a healthy crop of food. However, we can be far more adventurous than that! Where is the fun in buying seeds in packets when children can get them for free? Let’s take a look at some cheaper and far more creative ways that children can start things off.
 “Free” you say? Well, pretty much! Next time you have some shop-bought tomatoes and/or peppers as part of your ordinary shopping, get your little one to take a few moments to save some of the seeds. These are found within things like tomatoes, before they’re eaten, and are usually discarded in the case of peppers. Such seeds can simply be spaced out on some compost or earth, watered in and a thin layer of soil or compost added on top. If these are left on the windowsill and the earth kept moist by the child over the coming days, little seedlings will soon start to appear.
 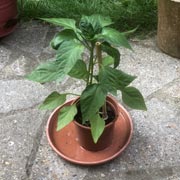 The image of the green plant shows our pepper seedling grown in this exact way — and it was incredibly easy to achieve. Ours is about 3 or 4 weeks old and it’s just about ready to be “planted out” outdoors, to mature. Once mature, they should flower then sprout some new peppers! It’s identical for tomatoes. If children have no garden for larger plants to be transferred to, ‘grow bags’ or any kind of suitable container can be used on a patio or balcony. Children will need to keep watering them every day, to keep the soil moist. Flowers will eventually appear and, with a little help from bees and insects, will be pollinated so that they eventually ‘fruit’. If appropriate care and attention continues, your child will eventually end up with vegetables that can eventually ripen and be eaten. That’s free tomatoes and peppers for the family, in our examples. Don’t forget to remind your child to save a few more seeds, though, so they can repeat the whole process again … and again!
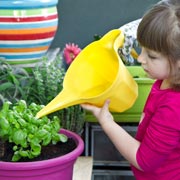 Does your little one know that he/she can grow new herb plants totally free of charge? This is done simply by clipping cuttings from your usual shop-bought herbs and leaving them in water to root. It’s incredibly easy so long as the child has some patience (that’s another useful lesson for them). All the child needs to do is to save some small (3 or 4 inch long) cuttings from the tips of herbs like basil or coriander. For safety, parents/carers may need to help with the cutting part if the children are very young.
 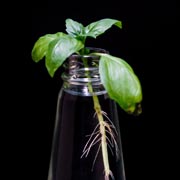 The bottom sections of the clipped cuttings should be dangled into a glass, small bottle or other suitable vessel of water and left over a period of days until they sprout roots. See the photo for an example. A clear water vessel, e.g. drinking glass, will allow your child to clearly see the roots. Once suitably long, these new little plants can be transplanted individually into compost/soil in something like flower pots — or indeed a free, recycled alternative like a yoghurt pot. The little ones will need to continue attending to the plants with regular watering so that the herbs grow and mature. This activity can all be done indoors on a windowsill too, so requires minimal space. Growing their own herbs may even make children more inclined to eat them!
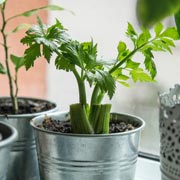 Another ridiculously easy way to grow food is to “re-grow” it. A classic example of this is to save the root section from a salad vegetable like iceberg lettuce or celery. This is the part of a shop-bought vegetable that would normally be cut off and discarded. However, in what has to be the easiest food growing activity of all, the child simply needs to keep that root section and leave it root down in water for 1 to 3 weeks. It will eventually grow some roots but, before that, the upper tip will start to sprout new leaves. In our own test using an iceberg lettuce we ended up with loads! That is new, free salad that can be later harvested and eaten. Simple!
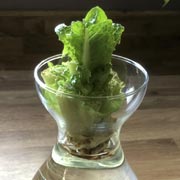 (Speaking of iceberg lettuces): Excuse the pun, but the ideas above are just the tip of the iceberg! There are so many other types of vegetable and fruit that children can grow (or re-grow) for next to nothing. For example, they can grow new apple trees from apple pips and new strawberry plants from the outside skin of strawberries. And the whole topic of

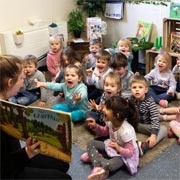 If you are looking for the very best childcare provision for your child in Central Lancashire, there are a multitude of reasons why you should choose Little Acorns Nursery. Put simply, Little Acorns offers the very best possible childcare service for under-fives — but you don’t need to take our word for it. This is independently verified, as you’ll see below. Take a look at our top 20 reasons to choose Little Acorns Nursery and you’ll soon see why it’s virtually impossible to beat when it comes to outstanding childcare provision.
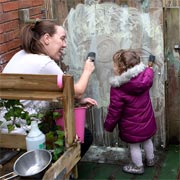 The quality of teaching, learning and assessment at the nursery was also found to be simply outstanding when Ofsted appraised us. It doesn’t get any better than that.
 Little Acorns Nursery has received a number of awards for it’s healthy eating policy. These include a Recipe 4 Health Award and accreditation via the Smiling For Life Award. Each recognises the healthy meals and snacks that we provide to children under our care.
 It almost goes without saying that, of course, Little Acorns Nursery has a 5-star food hygiene rating. Once again, that’s the topmost rating. Quality and professionalism are, after all, at the heart of everything we do.
 Everything we do at the nursery has a purpose, whether it’s a customised approach to learning for a specific child, the choice of a particular activity or game for another, the purchase of a piece of new equipment, or the way we keep parents informed about their child’s progress each day — there is a reason for everything we do. Ultimately, our goal is to give every child the very best start in life and to equip them to achieve their personal best in every area. In this way, they are given the tools to achieve the very best outcomes in their lives.
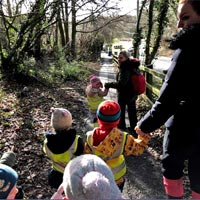 Our Forest School should be open from Autumn 2022. Children love Forest School and it teaches them so much about nature, the natural world and ultimately about themselves.