Microgreens: A Fun Food Growing Activity for Under-Fives
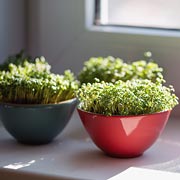 As promised in our recent Educational Food Growing post for kids, we’ve got another wonderful food-growing activity for children today. Whether you have a toddler, preschooler or older child, they’ll love this activity and it also has a huge range of benefits. It is a fun, educational, easy and inexpensive activity that gives children an enormous feeling of achievement. It also results in the miraculous growth of delicious food that children and the whole household can eat! What’s not to love, therefore, about our growing microgreens activity! Today, we explain just how easy it is.
First: What Are Microgreens?
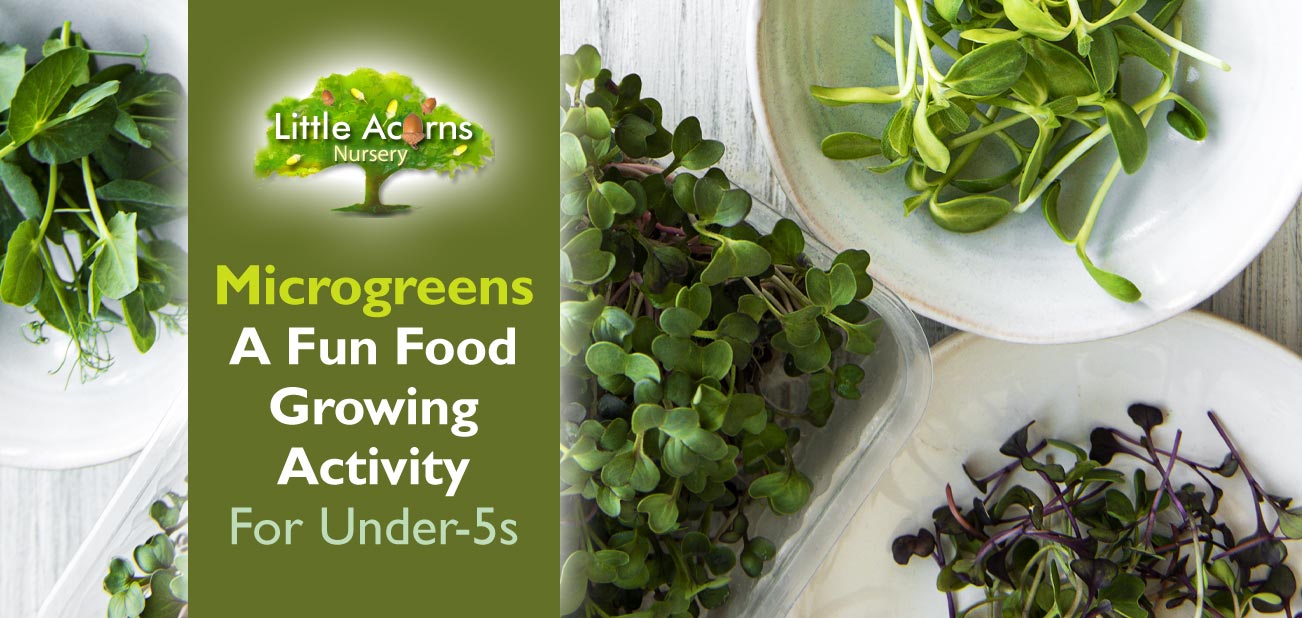
 Microgreens, also known as micro leaves, are the young shoots of growing plants that are edible. Examples include the seedlings of herbs like basil and coriander, red cabbage micro leaves and the shoots from root vegetables like beetroot. When growing, the seedlings form a thick and rich ‘carpet’ of shoots that, when ready, can be snipped off en masse and used in meals as salads or garnishes. What’s more, they’re delicious, highly nutritious and make meals look amazing. The entire activity can also be accomplished indoors in any home. You do not need to have a garden because a well-lit windowsill or counter top will more than suffice.
Growing Microgreens is a fun, educational, easy and inexpensive activity that gives children an enormous feeling of achievement. It also results in delicious food that children and the whole household can eat!
Additional Benefits of Children Growing Microgreens
Getting children directly involved in growing microgreens can also encourage them to try new foods, enjoy new flavours and to get much needed vitamins and minerals at the critical time when they are developing. Teaching them to grow food will also teach them a huge number of lessons, for example about nature, the circle of life, how to care for another living thing responsibly, where food comes from and even meal preparation, nutrition and balancing diets. Growing microgreens is a doorway to all of this and more, yet is so simple as an activity.

What You’ll Need to Start Growing Microgreens
You/your child will need a few things to get started in the growing activity:
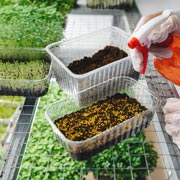 Microgreen seeds. These are available inexpensively online or at places like garden centres and even some supermarkets. You can buy microgreen mixed seeds or choose seeds for rocket, beetroot, spinach, red cabbage, fennel, broccoli, radish or mustard. Each has a distinctive look, when growing, and flavour, when eaten. Read the packets for more detail or just have fun and experiment!
- One or more shallow seed trays – also available inexpensively from garden centres or online. Alternatively, you can use any shallow tray left over from a ready meal, or use used yoghurt pots, egg cartons, cut down kitchen roll ‘cores’ or similar. Whatever you use will need to have drainage holes underneath, so parents will need to help any piercing, for safety purposes.
- As the main pots or tray require drainage holes, you will need another tray, cut-down pot or saucer to catch drips underneath. This is known as a drip tray and simply protects your surface from moisture.
- Lastly, you’ll need some light soil to sow the seeds in. This can be from the garden if you have one and are on a low budget (sieve first), or buy peat-free compost. Multi-purpose compost or a compost specifically for seeds and cuttings will be perfect. If you’re on a really low budget, another alternative is to simply sow microgreens directly onto layers of dampened tissue paper e.g. horizontal sheets torn from a kitchen towel.
That’s all you and your little one need, apart from water, natural light and some care and patience.
What to Do
Once you’ve got the above items together, your child can take the following steps:
| Step 1: Fill the seed tray, pots or cartons almost to the top with compost or whatever is being used as ‘soil’ (see the tissue option above if the budget is low). |
| Step 2: If using soil or compost, this needs to be tamped down gently to flatten and level the surface. |
| Step 3: The microgreen seeds can now be sprinkled lightly and evenly (best done from a little bit of a height), or manually spaced if your child enjoys that alternative approach. Clumping should be avoided. |
| Step 4: A light sprinkling of additional compost (or sieved soil) can then go on top to keep seeds in place. It may be best to do this outdoors. |
| Step 5: An additional layer of kitchen towel or tissue can be placed on top of the seeds, but only until the seeds start to germinate later on. |
| Step 6: Lightly sprinkle water or spray the seeds gently with a water spray, taking care not to disturb or wash away the seeds. |
| Step 7: Place the trays or pots, with their drip trays underneath, onto a well-lit windowsill or counter top. A little ventilation will also not be a bad thing for the seeds. |
| Step 8: Your child will need to check that the seeds/soil/tissue are damp each day and watered lightly to ensure they don’t dry out. Watering can either be done from above (ideally using a mister or water spray so as to not disturb the seeds) or from below by simply pouring water into the drip trays. This will be slowly drawn up into the soil naturally, particularly if it’s not too deep. |
| Step 9: As soon as shoots begin to appear, your child should remove any covering (from Step 5), taking care not to disturb the seedlings, and continue to water lightly each day as the seedlings grow. |
TIP: Don’t forget to get your child to wash their hands after touching soil and seeds etc.
Harvest Time!
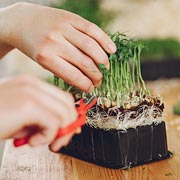 Different microgreen seeds grow at different rates but usually a dense carpet of growing shoots and tiny leaves will cover the trays or pots within one or two weeks. Generally speaking, when you can see small, immature leaves at the top of shoots about 1 to 1¼ inches tall, they are about ready to be harvested. For young children in particular, snipping them off is best done by parents, to avoid injury. The carpet of microgreens can be snipped off, using scissors, low down near where the shoots begin. It’s best to snip them off rather than to pull them up by the roots because then they have the chance to regrow and give you/your child a second crop later on. The microgreens can then be washed in a fine colander, under a cold tap, to remove any remnants of soil.
And Eat!
 Your child can then continue the fun by helping with meal preparation (with adult supervision for safety). Microgreens make wonderful garnishes, are lovely in salads and sandwiches and can also be added to things like soup, risotto, pasta, baked potatoes and burgers. They are incredibly attractive to look at, jazzing up any meal and also giving children extra nutrients to consume. They are also a great way to encourage children to try new tastes and food textures.
By growing microgreens themselves, children will have had great fun and will have learned so much along the way. It’s a fabulous and educational activity, any time of year!
A Place for your Child at our Outstanding Nursery & Pre-School in Clayton-le-Woods, Chorley

Are you searching for outstanding nurseries or pre-schools in Clayton-le-Woods (PR6), Chorley, or near to Clayton Green and Clayton Brook in Central Lancashire?
Little Acorns is in Clayton-le-Woods and is rated by Ofsted as an outstanding nursery. It is also an award-winning nursery, having won an important National award. Our childcare service is simply unrivalled in the area. So, if you’d like your child to experience the very best childcare, register for a nursery place at Little Acorns Nursery. You can also request a guided tour or ask any questions using the buttons below. We look forward to hearing from you.
